Empowering the Next Generation of Women in Audio

Join Us

iZotope RX 101

There are many audio repair tools on the market, and arguably the most common one is iZotope RX. And no wonder – it gives the user very fine control over audio clean-up. I have come across questions from new users in several internet groups, so I thought it was about time that I shared everything I have learned about RX.

We will cover the basics: the interface, some user preferences, and the order of operations. This article will be heavily geared towards film, radio, and podcasts, but the software is also a workhorse in the music industry –  I just personally can not speak to how it is used in music. Lastly, I own RX 9 Advanced, so I am giving advice from that perspective. Take the advice in this article and apply what you can to your version of RX. RX Elements and RX Standard just have fewer modules, so a lot of this will just be extra advice. Older versions will have slightly different algorithms but much of this advice will still stand.

I do want to mention that I am in no way sponsored by, or being paid by iZotope, and in writing this I am not necessarily endorsing a single product. I just consider myself pretty good at using RX and want to share the wealth.

The User Interface

This diagram is simply an overview. Hover over any of these in the software’s interface to get the full name and use of the tools in the interface.

The Spectrogam View

The spectrogram is the “heat map” behind the waveform (when the waveform/spectrogram slider is set to center). It gives a detailed visual about the time, frequencies, and amplitude of your audio all in one graph. The loudest frequencies are the “hot” color temperature. The spectrogram helps to visually isolate audio problems like plosives, hums, clicks, buzzes, and intermittent noises like a cough, phone ringing, sirens, et cetera.

There are some settings that need tweaking for maximum efficiency, and to suit your personal preferences. Starting with the scales on the right-hand side:

The amplitude scale should be set to dB. The other options are normalized 16-bit, and percent. Set the view from the dropdown menu that becomes available when you hover over the scale and right-click.

Right-click frequency scale and select extended log. This is a zoomed-in view that allows you to see more details of each frequency range in the spectrogram.

The magnitude scale should be set to decibel. The settings for the amplitude and magnitude scales ensure the accuracy of decibel readings across frequencies in the spectrogram.

Once the scales are set, open Spectrogram Setting either by right-clicking any scale on the right-hand side and selecting Spectrogram Settings from the drop-down menu or in the menu go to  View > Spectrogram Settings.

You can save different presets depending on all the parameters in this window. But I want to draw attention to the color options. The default is cyan to orange. But I recommend blue to pink. The contrast is the most obvious when using this color combination, although it does come down to personal preference. (If you want casual onlookers to think you are dealing with paranormal activity, go with the green and white color map!)

Beware the Dangers of Overprocessing!
  
Overprocessing occurs when the user runs too many modules or modules at heavy settings. It sounds like added digital artifacts, squashed dynamics, alterations to the original sound, or dropouts in the audio. I recommend three strategies to  avoid overprocessing:

Only run the modules you have to. I have some processes I use all the time but might break my own rules if I feel like something needs a lot of one type of module. (i.e., Maybe I skip Spectral De-Noise if the bigger issue is too much room reverb, and I think I may run De-Reverb more than once.)

Run the lightest possible settings. Dial-in what you think you’ll need, then back off a bit, then render the module. It is better to run one module twice with light settings than once with really heavy settings.

Check your work by clicking back in your history window. If any version of the processed file makes the audio sound worse instead of better, undo everything up until that point. After taking a listening break, you might come back and realize that everything you have done sounds worse than the original audio. That is fine. It doesn’t make you bad at audio repair. Take a breath, and start over with fresh ears.

Ultimately, your goal is to keep it natural. Bring out the speech, and do not remove the environmental ambiance altogether. You can try to remove broadband noise so long as you can do so without affecting the audio you want to keep. Even some background noise is preferable over the distraction of noise cutting in and out in the background. Use RX as a tool to make voice intelligible, and assist in blending audio together seamlessly. And note: audio repair tools are not a substitute for a good recording.

Order of Operations

iZotope published this flowchart on their blog back in the days of RX 7. I more or less adhere to it and have managed to avoid creating digital artifacts for a long time.  

Here is my current order of operations when repairing audio for podcasts and films. My process is inspired by iZotope’s recommendations, but I have tailored it. All these steps I run in the RX standalone application. I have a slightly different workflow when I connect RX to Pro Tools and will go over that in a future article.

Mixing module: I run this first, and only if the audio is out of phase.

De-hum: Only if there is a hum, and also, the HPF on it is really nice. I tend to apply a 50 Hz HPF and a 60 Hz reduction. But sometimes I might not run this if I think audio will need a lot of processing.

Mouth de-click – use on just about everything. Set to “output clicks only.”  Dial-in until I hear bits of words, then back off, and back off some more. Uncheck “output clicks only” prior to rendering.

General denoising, a combination of any of the following but I will not usually run them all

Spectral denoise: Meant to target broadband noise, like hiss, or tonal noise. It tends to be super heavy-handed. Use only if I can grab a sample of the broadband audio so the algorithm can “learn” the noise profile. Set the threshold to taste. I usually do not use a reduction of more than 7 dB, but everyone has their own preference. I have had this module remove parts of the audio of a very dynamic talker, so less is more.

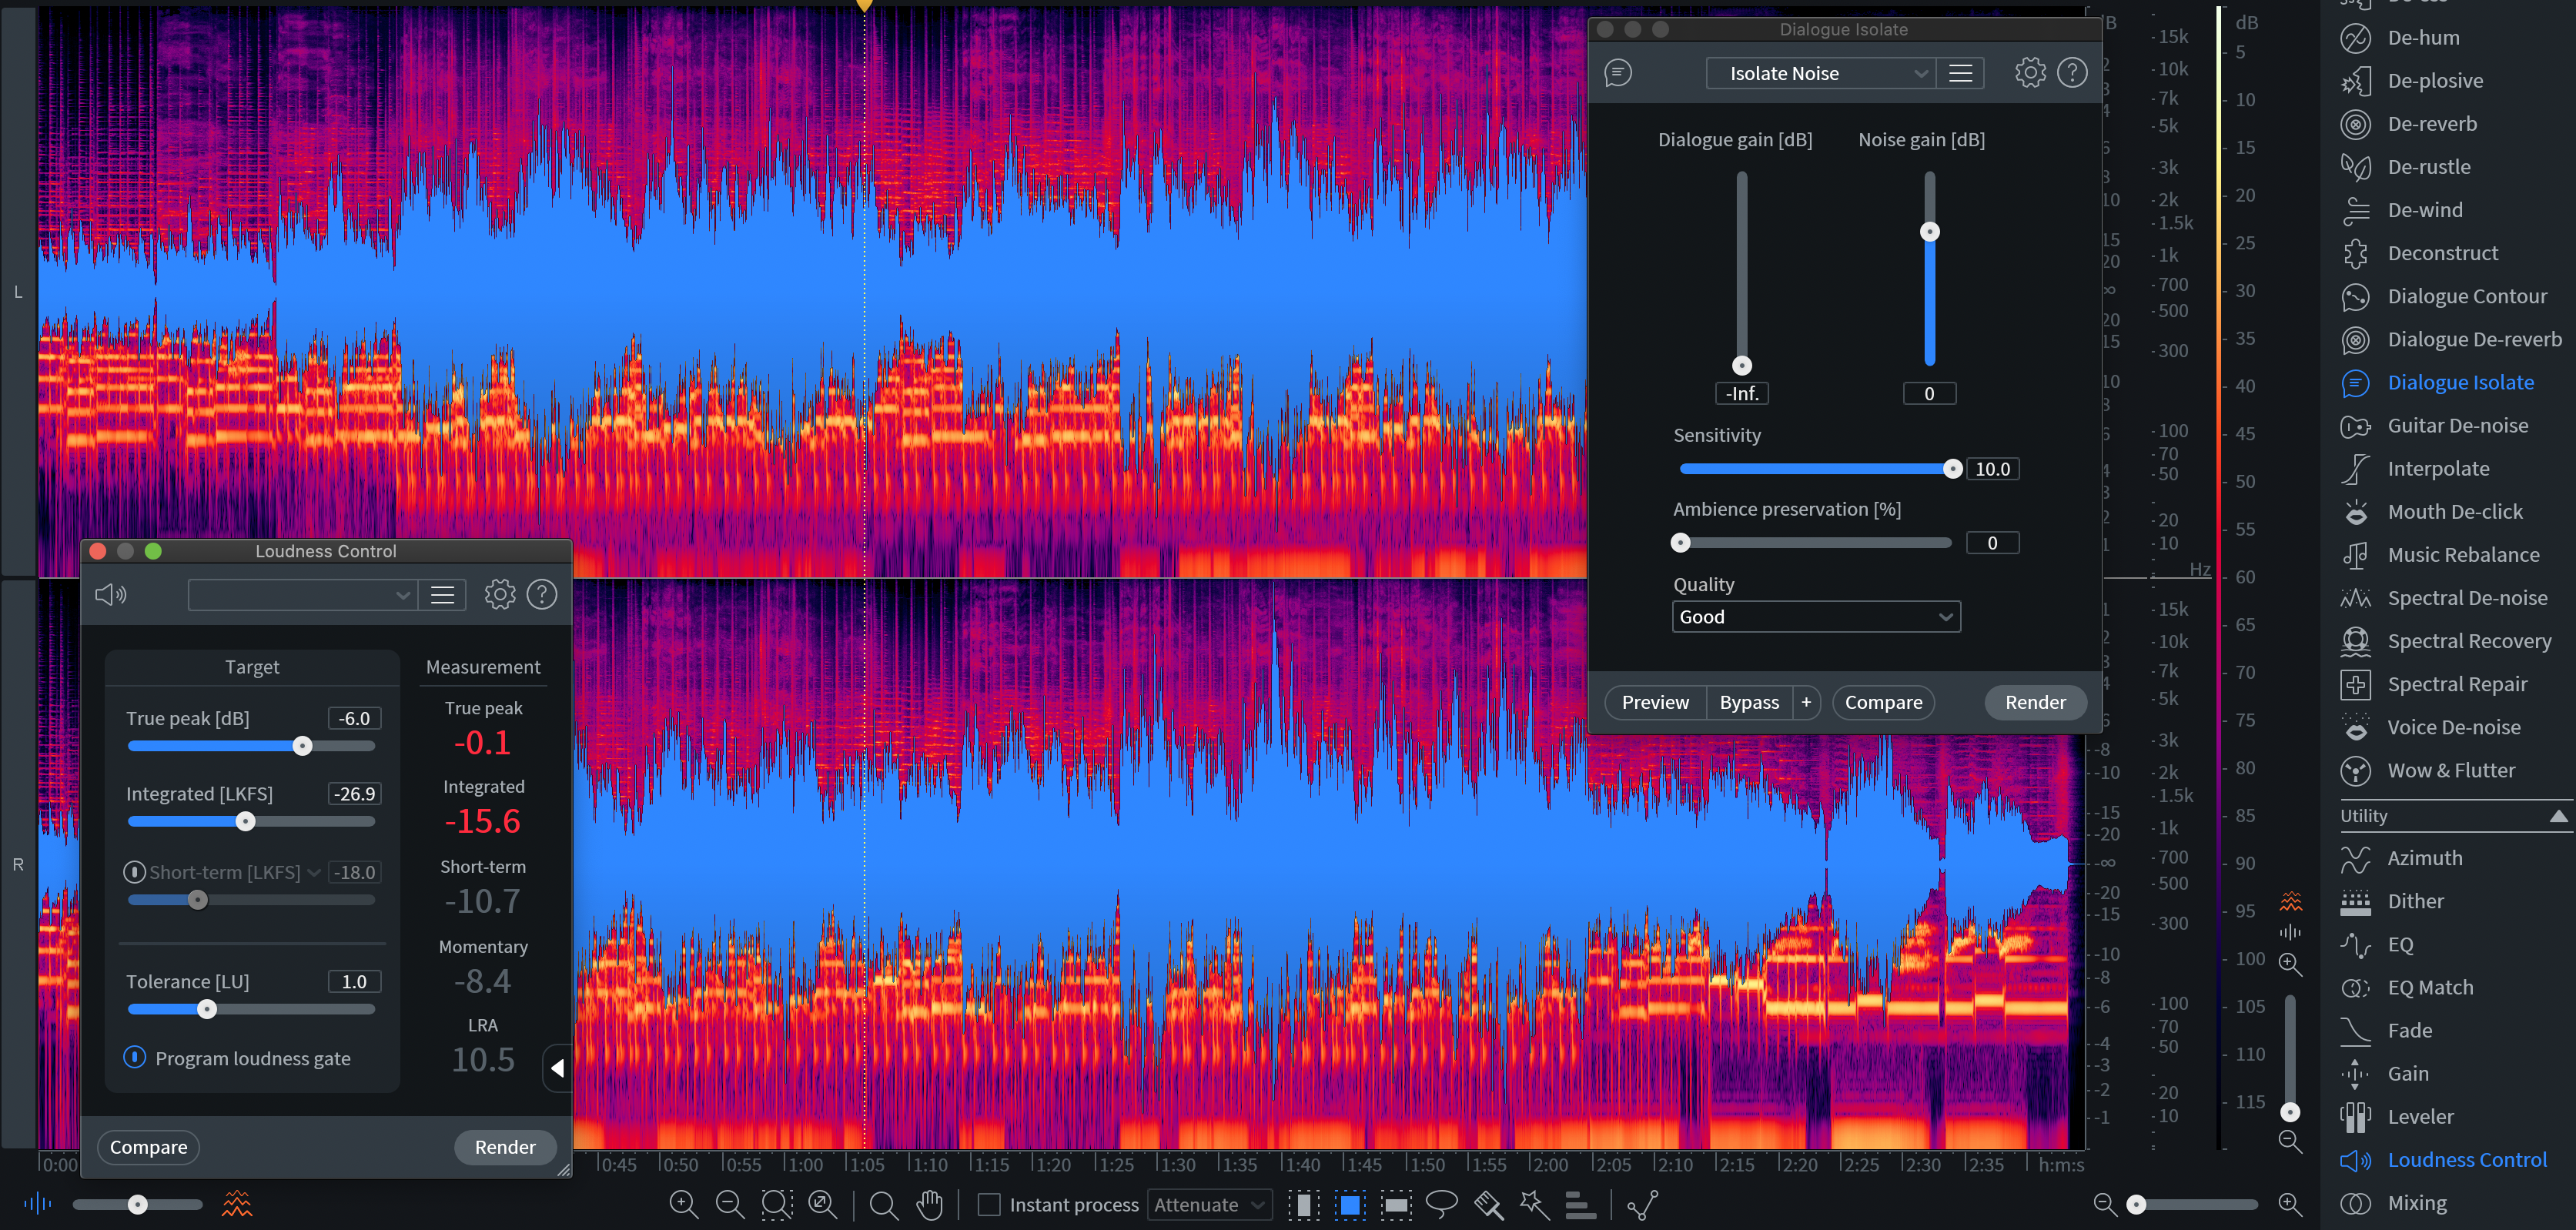
Dialogue Isolate: I use this a lot! Lowers background if not removing it altogether, depending on the content of the audio. Remember to keep it natural. Try to just enhance speech over the background.

Voice Denoise: Can also learn a noise profile from a sample. More gentle than Spectral Denoise. Sometimes I use this as a finishing touch to make vocals “pop.”

Then more manual things like painting out unwanted background sounds, plosives, and clicks that mouth de-click did not catch.

EQ is my last step if I am applying EQ in iZotope.

This should be a solid start if you are just getting started with iZotope RX. Remember to keep the audio natural and your goal is to enhance the audio quality. Although there is also creative potential with all of these tools! But having a foundational understanding will empower you to take it to a creative level. In future blogs, we will cover removing unwanted noises by hand and connecting RX to your digital audio workstation.

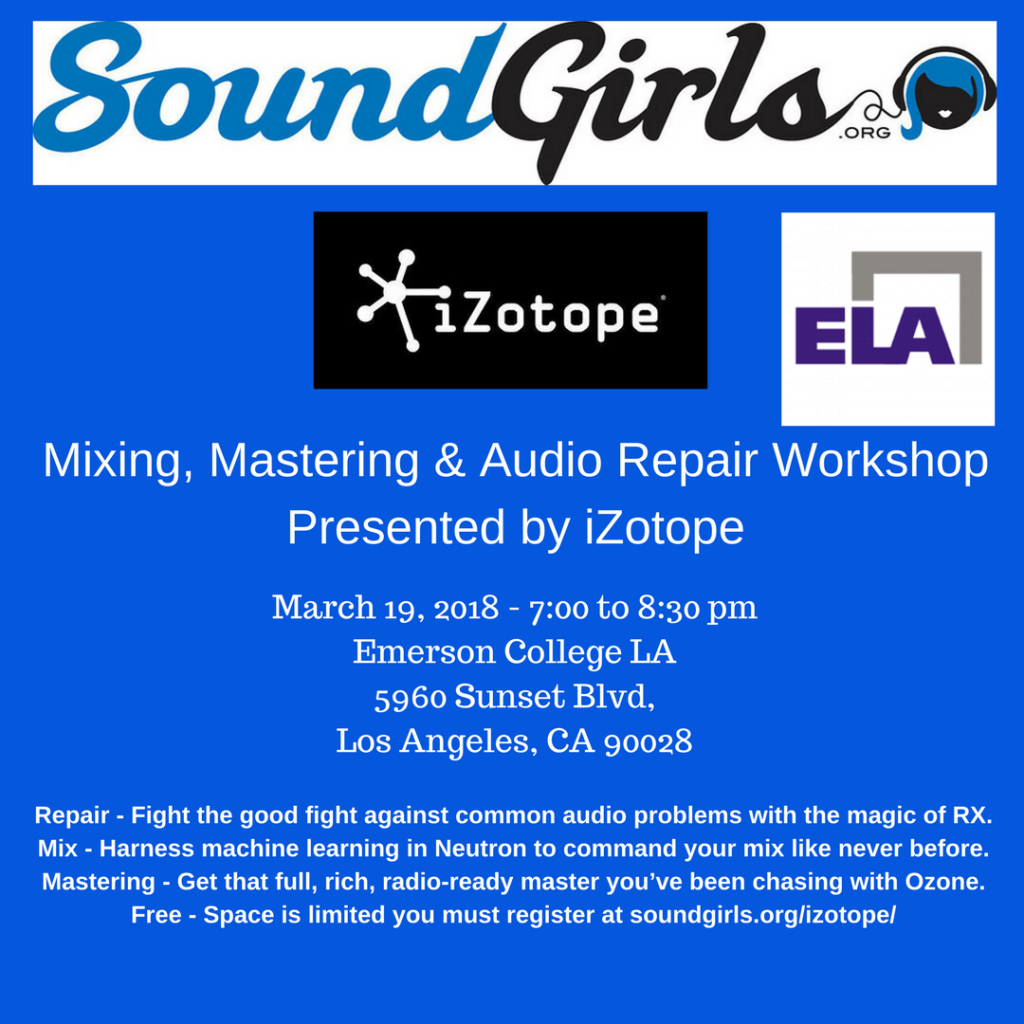
iZotope Workshop at Emerson College

Register Here

Visit iZotope for more information on their products.

Post Production Audio: Broadcast Limiters and Loudness Metering

Any time you’re working on a mix that’s going to broadcast, it’s important to ask for specs. Specs are essentially a set of rules for each broadcaster, such as:

Generally there will be a “spec sheet” for each broadcaster (i.e. ABC, CBS, BBC, etc) that your client will provide when asked. Spec sheets aren’t necessarily public or available online, but some are (such as NBC Universal). Some online content providers (like Amazon), movie theater chains, and movie distributors also have specs, so it’s always good to ask.

To understand some important concepts, we’ll take a look at PBS’s most recent specs (2016), found here.

For PBS, it’s a 21-page document that includes requirements for video, audio, how to deliver, file naming, closed captioning, etc. It gets pretty detailed, but it’s a good example of what a spec sheet looks like and the types of audio requirements that come up. The information in the spec sheet will dictate some details in your session, such as track layouts for 5.1, where your limiters should be set, dialog level, bars and tones, etc. We’ll break down a few of these important elements.

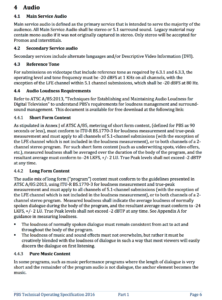
PBS Technical Operating Specification 2016 – Part 1, Page 6 Sections 4.4.1, 4.4.2 – Audio Loudness Requirements

The three most important details to look for on a spec sheet are peak loudness, average loudness, and the ITU BS 1770 algorithm. These will be explained in detail below. In this case, the PBS specs are:

Peak Loudness: -2dBTP (“true peak” or 2 dB below full scale). This is your brickwall limiter on the master buss/output of the mix. In this case, it would be set to -2dB.

Average Loudness: – 24dB LKFS +/-2 LU.

ITU BS 1770 Algorithm: ITU-R BS.1770-3. This is the algorithm used to measure average loudness.

Some background on the average loudness spec:

Before 2012, there used to only be one loudness spec: peak loudness. This was a brickwall limiter placed at the end of the chain. Back then, most television networks (in North America) had a peak level of -10dBfs. From the outside (especially coming from the music world) it seems like an odd way to mix – basically you’ve got 10 dB of empty headroom that you’re not allowed to use.

As long as your mix was limited at -10dB, it would pass QC even if it was squashed and sounded horrible. That’s what was happening, though, especially with commercials that were competing to be the loudest on the air. If you remember running for the remote every commercial break because they were uncomfortably louder, that was the issue.

In the US, Congress enacted the CALM act which went into effect in 2012 and required broadcasters to reign in these differences in loudness between programs and commercials. The spec that evolved from this was average loudness level. A loudness measurement covers the length of the entire piece, whether it’s a 30 second spot or a 2 hour movie. Average loudness is measured through a loudness meter. Popular measurement plugins are Dolby Media Meters, Izotope Insight and Waves WLM.

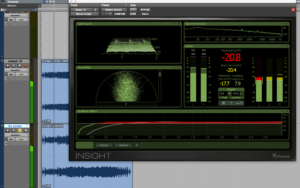
Izotope Insight screenshot

The ITU developed an algorithm (ITU BS 1770) to calculate average loudness. The latest algorithm is 1770-4 (as of early 2017). To get technical, loudness is an LEQ reading using a K-weighting and full-scale; the designation for this reading is “dB LKFS”. In the PBS spec sheet, section 4.4.1 and 4.4.2 say mixes should use ITU BS 1770-3, which is an older algorithm. This is an important detail, though, because when you’re measuring your mix, the plugin has to be set to the correct algorithm or the reading may be off. The PBS specs were written in 2016 (before 1770-4 came out). Broadcasters update these every couple of years, especially as technology changes.

In this PBS spec, the optimal average loudness is -24dB LKFS, but there is an acceptable loudness range (LRA) above and below +/-2 LU (“Loudness Units”). Basically that means your average loudness measurement can fall on or between -26dB LKFS and -22dB LKFS, but ideally you want to mix to hit at -24dB LKFS. The measurement plugin will probably show a short term and a long term value. The short term reading may jump all over the place (including beyond your in-spec numbers). The overall (long) reading is the important one. If the overall reading is out of range, it’s out of spec, won’t pass QC and will likely be rejected for air. Or, it may hit air with an additional broadcast limiter than squashes the mix (and doesn’t sound good).

As HD television has become more popular, broadcasters have loosened up on the peak loudness range. PBS is pretty liberal with -2dBTP (or -2dBfs); some broadcasters are at -6dBfs and occasionally some are still at -10dBfs.

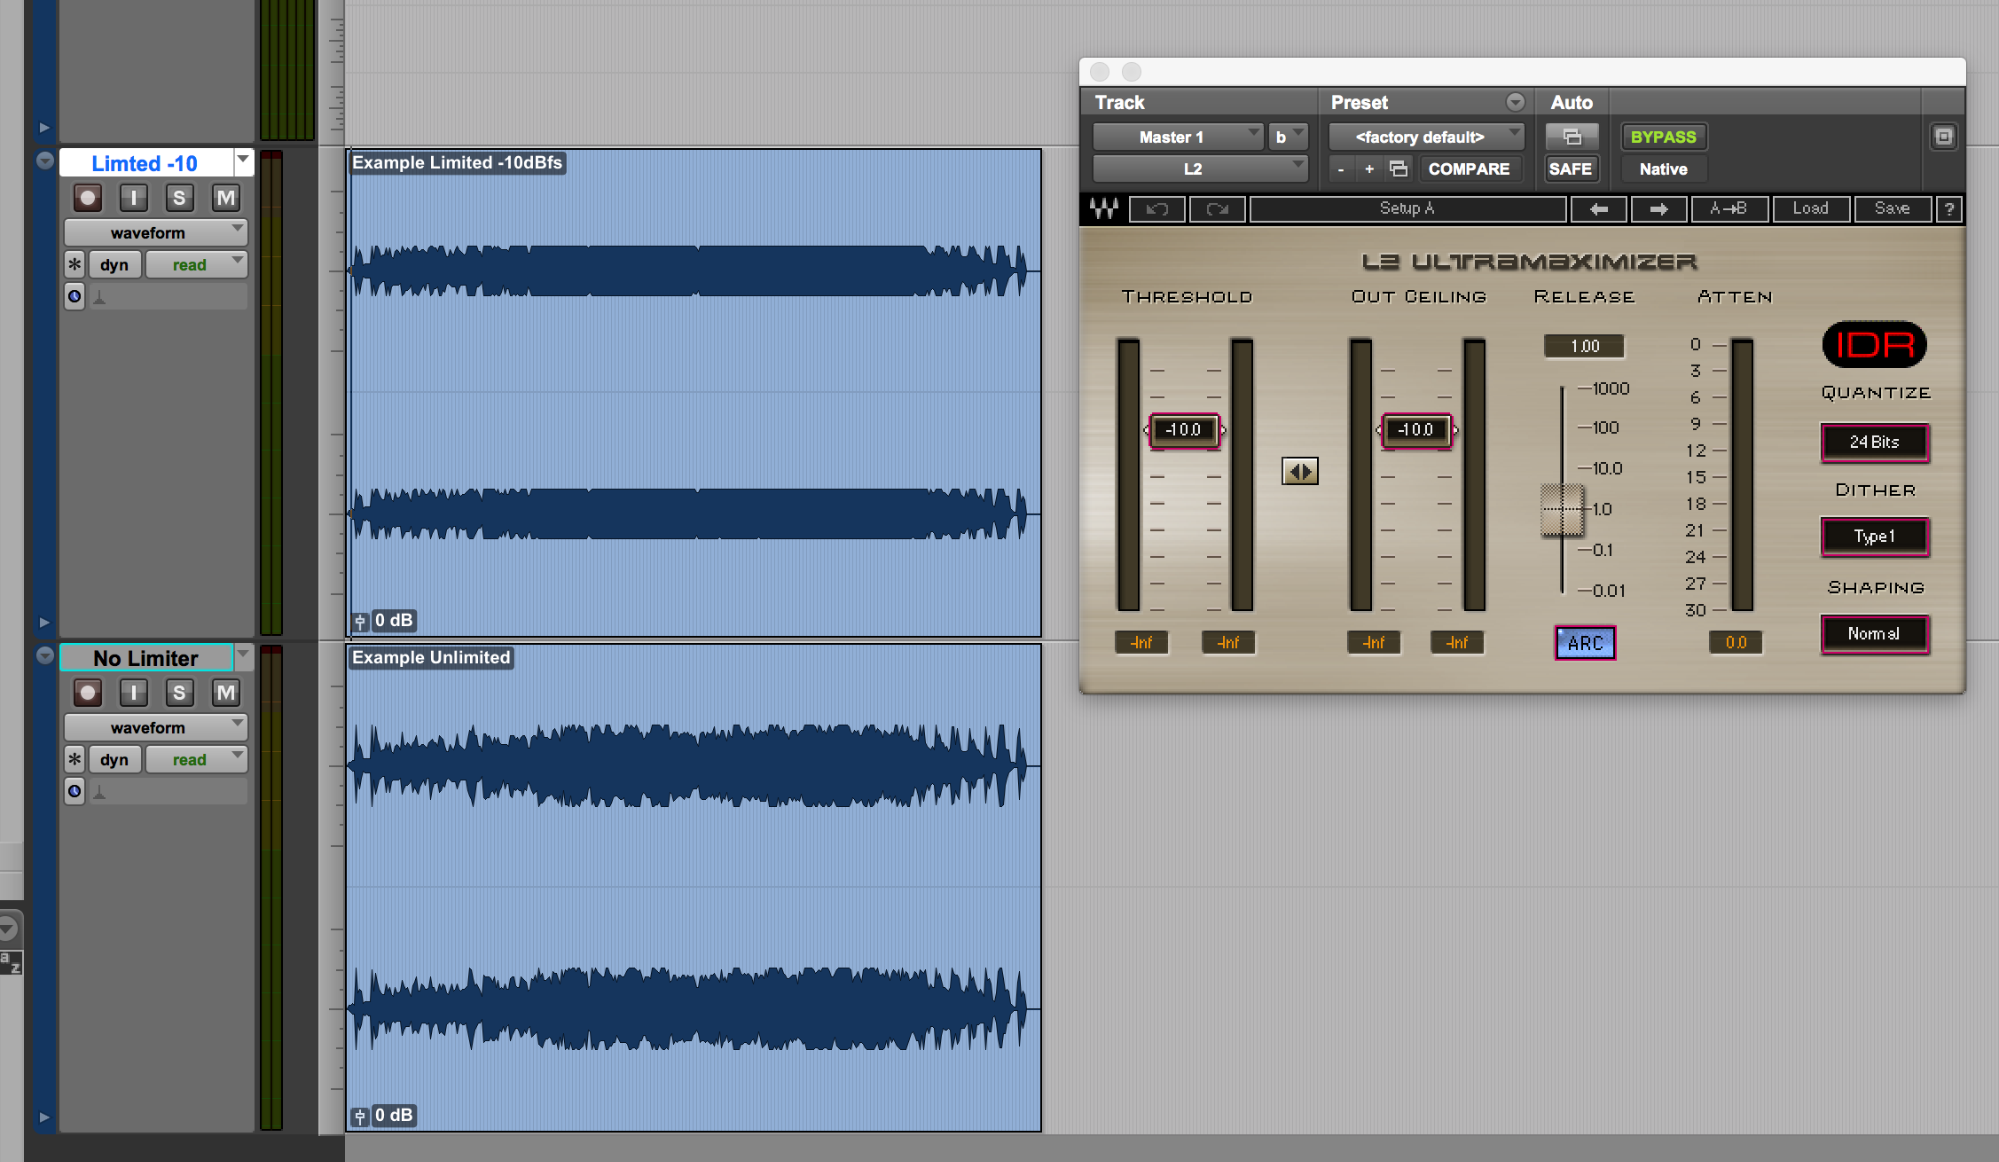
Below is a screenshot of a mix with a limiter at -10dBfs (you can see the compression – it doesn’t sound very good!) and the same mix without. If your average loudness reading is too hot and your mix looks like the upper, there’s a good chance that your mix (or dialog) is overcompressed!

Initially re-recording mixers thought loudness metering would be restrictive. Average loudness is measured across the entire program, so there’s still room for some dynamic range short term. Loudness specs can be a problem for certain content, though. For example, you’re mixing a show with a cheering audience that’s still being picked up as dialog by the loudness meter. Say your spec is -24dB LKFS (+/-2). You mix the show host at -24dB LKFS (in spec) but every time the audience cheers the short term measurement is -14dB LKFS. The overall loudness measurement might be -18dB LKFS – which is way out of spec! So sometimes you end up mixing dialog on the low side or bringing down an audience more than feels natural to fall in spec.

Another difficulty of mixing with a loudness spec is making adjustments when your overall measurement is out of spec. A dB of LU (the unit of measurement for average loudness) is not the same as 1dBFS (full scale). If you drop the mix 1dB by volume automation, it’s not necessarily a 1dB change in average loudness. If you’re mixing a 30 second promo and the loudness level is out of spec it’s easy to adjust and recheck. If you’re mixing a 90 minute film, it takes a bit more work to finesse and time to get a new measurement.

There’s software that will make these adjustments for you – basically you can tell the software what the specs are and it’ll make small adjustments so the mix will fall in spec. While this is a good tool to have in the toolbox, I encourage mixers to first learn how to adjust their mix by hand and ear to understand how loudness measurements and metering works.

I find in general if dialog is sitting between -10 and -20dBfs (instantaneous highs and lows) and not over-compressed, the average loudness reading should fall pretty close to -24dB LKFS. When I first started mixing to an average loudness spec, my mixes were often averaging hot (-20 to -22dB LKFS) when spec was -24. My ear had become accustomed to the sound of compressed dialog hitting a limiter on the master buss. What I’ve learned is that if you’re mixing with your dialog close to -24 dB LKFS (or -27 for film) you can bypass the master limiter and it should sound pretty seamless when you put it back in. If you’re noticing a big sound change with the limiter in, the overall reading will probably fall on the hot side.

When I start a mix, I usually dial in my dialog with a loudness meter visible. I’ll pick a scene or a character and set my channel strip (compressor, EQ, de-esser, noise reduction etc) so the dialog mix lands right on -24dB LKFS. I do this to “dial in” my ear to that loudness. It then acts as a reference, essentially.

One thing I like about mixing with a loudness spec is you don’t have to mix at 82 or 85 dB. While a room is optimally tuned for these levels, I personally don’t always listen this loud (especially if it’s just me/no client or I anticipate a long mixing day). Having a loudness meter helps when jumping between reference monitors or playing back through a television, too. I can set the TV to whatever level is comfortable and know that my mix is still in spec. When I’m mixing in an unfamiliar room, seeing the average loudness reading helps me acclimate, too.

I mix most projects to some sort of spec, even if the client says there are no specs. Indie films, I usually mix at -27dB LKFS and a limiter set to -2dBFS or -6dBFS (depending on the content). If an indie film gets picked up for distribution, the distributor may provide specs. Sometimes film festivals have specs that differ from the distributor, too. If you’ve already mixed with general specs in mind, it may not need adjusting down the road, or at least you will have a much better idea how much you’ll need to adjust to be in spec.

SoundGirls.Org – NAMM – She Rocks Awards

By: Karrie Keyes
886341_10153972986368530_8984179286900045700_o
The last week has been a whirlwind of activity for SoundGirls.Org. We welcomed several members from around the globe to Anaheim and NAMM last week. It was so fantastic to meet members in person and I know everyone had a great time meeting up and hanging out with each other.

(more…)

X